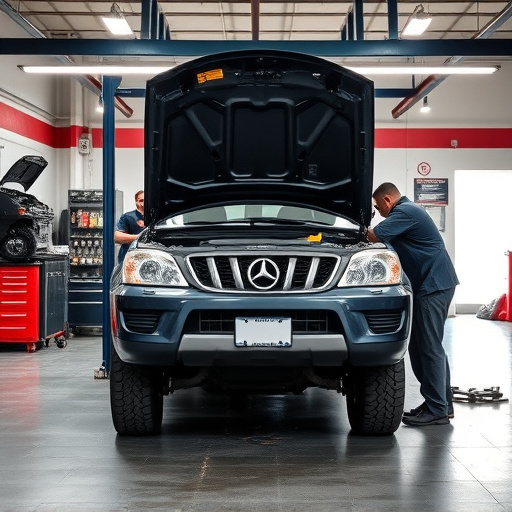


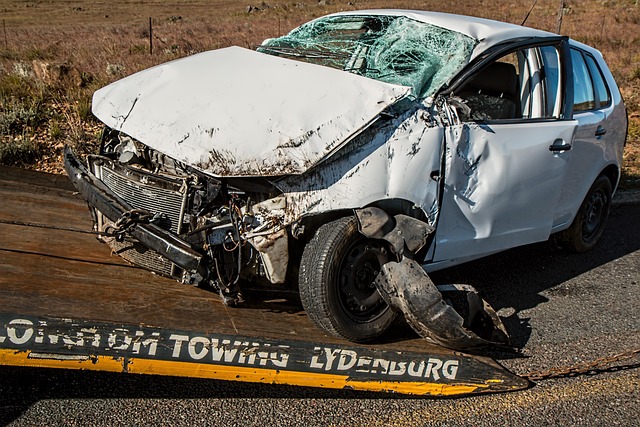
DIY bumper repair kits are suitable for minor dents but have limitations for severe damage. Adequate surface preparation and strict adherence to manufacturer instructions are crucial for successful home repairs. For significant bumps or complex structural issues, professional auto body services offering advanced solutions like glass repair and dent removal are recommended.
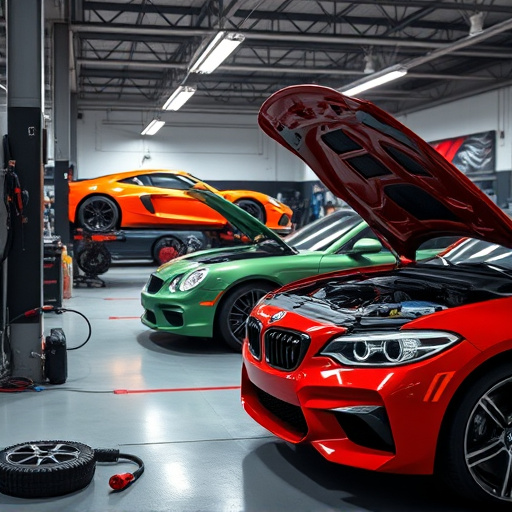
Using a bumper repair kit at home can seem like a cost-effective solution, but it’s not without its pitfalls. This article explores common mistakes that dokers often make when attempting DIY bumper repairs. From misunderstanding the kit’s limitations to skimping on surface preparation, these errors can lead to subpar results. Learn about the key steps required for successful bumper repair and avoid making these costly mistakes with our comprehensive guide.
- Misunderstanding the Kit's Capabilities
- Inadequate Surface Preparation
- Skipping Key Steps for Effective Repair
Misunderstanding the Kit's Capabilities
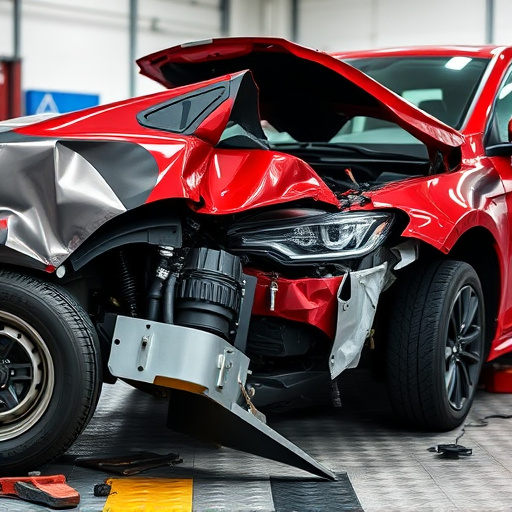
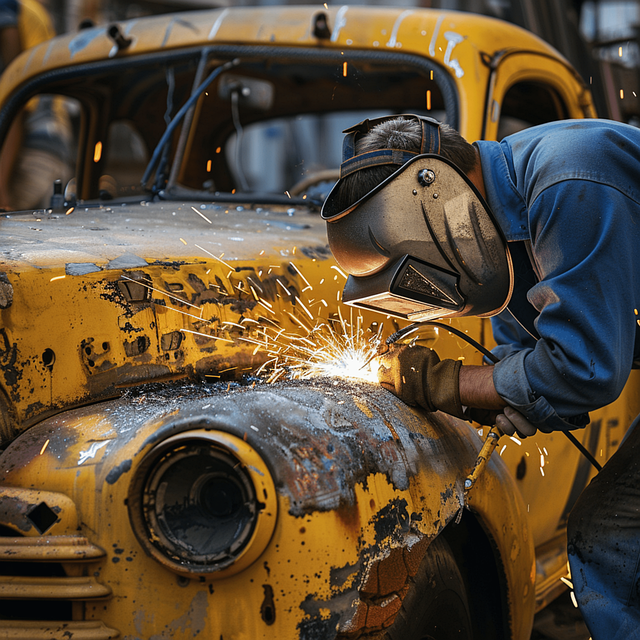
Many DIY enthusiasts attempt bumper repairs with a home bumper repair kit, but a common mistake is misjudging what these kits can and cannot do. Bumper repair kits are designed for specific types of damage, primarily small dents and scratches. They are not equipped to handle severe crashes or complex structural damage that might require professional auto body work. Users often expect these kits to miraculously fix significant dents, leading to disappointment when results fall short of expectations.
It’s crucial to understand the kit’s capabilities before starting any repair. Auto glass repair and dent repair services offer more advanced solutions for heavier damage, ensuring a safer and more aesthetically pleasing fix. Home bumper repair kits are best suited for minor cosmetic issues, allowing car owners to touch up their vehicles between professional servicing visits.
Inadequate Surface Preparation
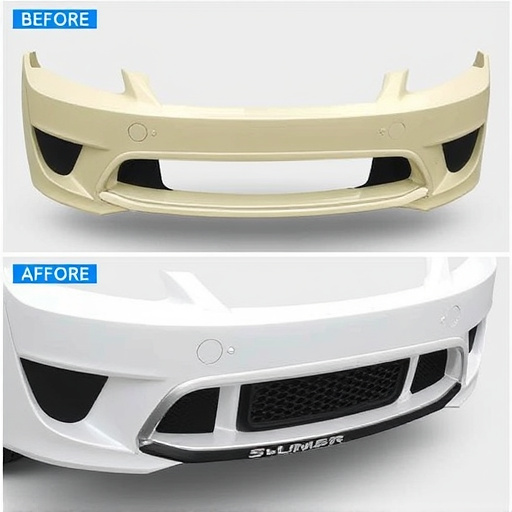
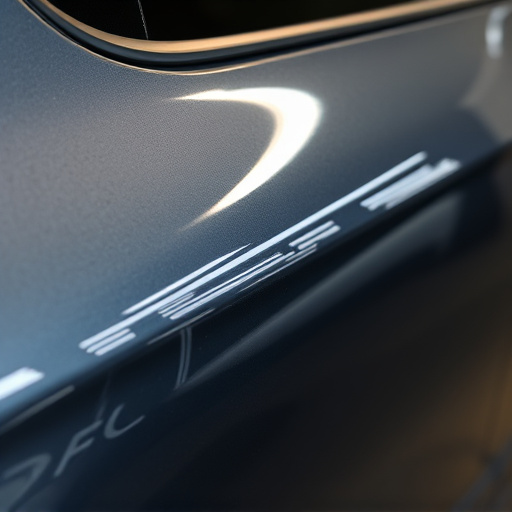
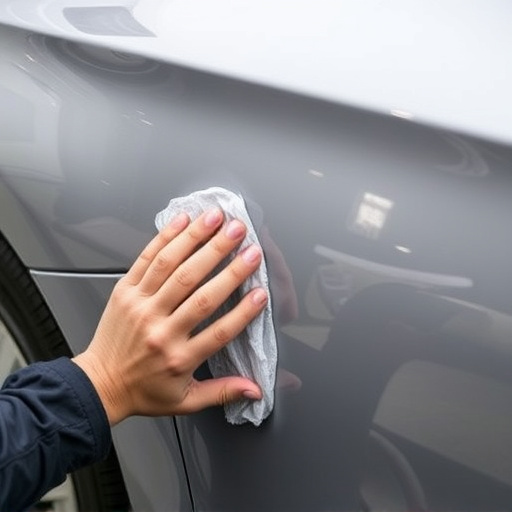
Many DIY enthusiasts attempt to fix their damaged bumpers using a bumper repair kit at home, but one of the most common mistakes is inadequate surface preparation. Before applying any filler or paint, it’s crucial to thoroughly clean and prepare the affected area. Failure to do so can lead to poor adhesion, resulting in the repaired section looking different from the rest of the bumper. Dirt, grease, or old residue can interfere with the bonding process, making a fresh start essential.
Surface preparation involves removing any loose debris, sanding down the damaged area to create a smooth base, and ensuring the surface is free from contaminants. This step is critical in achieving a seamless finish that matches the vehicle’s original bodywork (auto glass repair or automotive body work). Skimping on this process can make the difference between a professional-looking repair and one that stands out as an obvious DIY job.
Skipping Key Steps for Effective Repair
When using a bumper repair kit at home, skipping key steps can lead to subpar results or even further damage. It’s crucial to adhere to the manufacturer’s instructions precisely, as every step is designed to ensure optimal adhesion and long-lasting repairs. Many DIY enthusiasts make the mistake of rushing the process, but patience is vital. Thoroughly cleaning and preparing the dented area before applying the kit is essential for a successful repair. Neglecting these initial stages can result in an unevening finish or poor bonding strength.
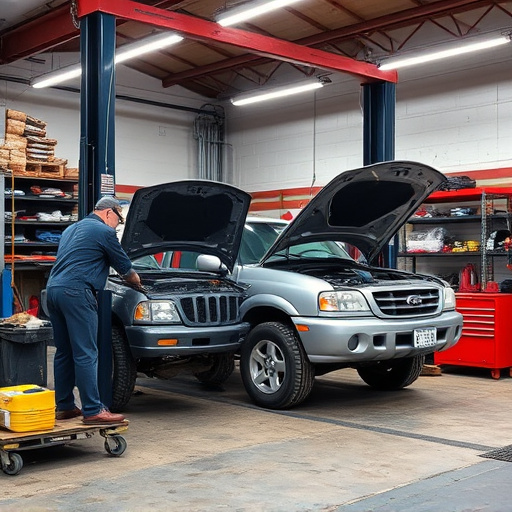
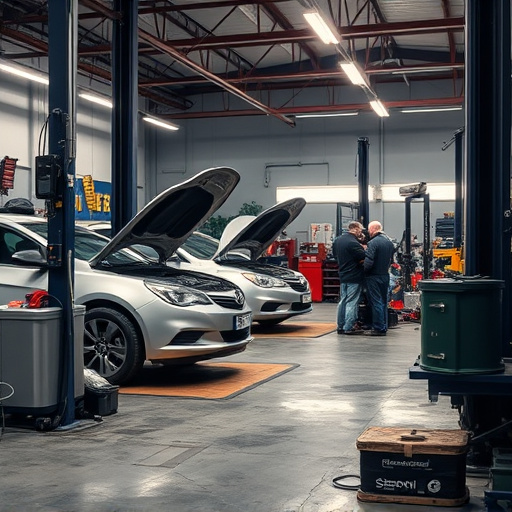
Additionally, proper surface preparation includes removing any debris, grease, or old paint to create a clean canvas for the bumper repair kit. Using the wrong tools or not following the recommended techniques for dent removal can compromise the integrity of your vehicle’s bodywork. Compare your options with what you’d find at an auto collision center and ensure you’re equipped with the right knowledge before attempting any DIY repairs.
When attempting a DIY bumper repair with a bumper repair kit, it’s easy to fall into common pitfalls. Misunderstanding the kit’s limitations, skipping crucial preparation steps, and failing to follow instructions can lead to subpar results. To achieve the best outcomes, homeowners should be aware of these mistakes and ensure proper surface preparation, meticulous adherence to key steps, and a thorough understanding of their bumper repair kit’s capabilities before beginning the repair process.