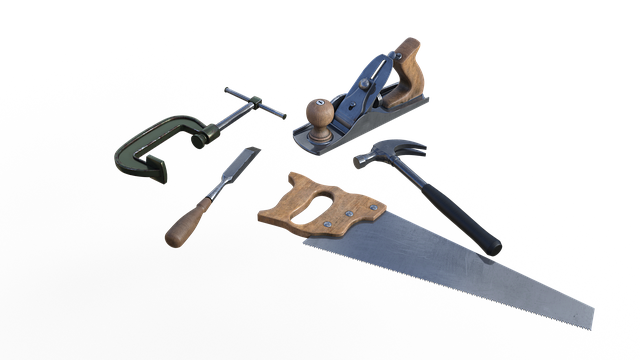
A bumper repair kit involves several key components: filler for dent repair, sandpaper for surface preparation, fine-grit paper for a seamless finish, and paint to match the vehicle's original color. Before using the kit, clean and dry the damaged area, then roughen the edges with sandpaper. The process begins with buffing imperfections, applying filler, sanding, priming, and finally painting to match the car's color, resulting in a professionally restored bumper.
Looking to fix that damaged bumper yourself? A comprehensive bumper repair kit is your first step towards a smooth, restored finish. This guide breaks down the essentials of bumper repair, from understanding your kit (including filler, sandpaper, and paint) to achieving a perfect finish. We’ll walk you through each process, ensuring your bumper looks good as new.
- Understanding Your Bumper Repair Kit Essentials
- Preparing and Sanding for a Smooth Finish
- Painting and Restoring Your Bumper Like New
Understanding Your Bumper Repair Kit Essentials
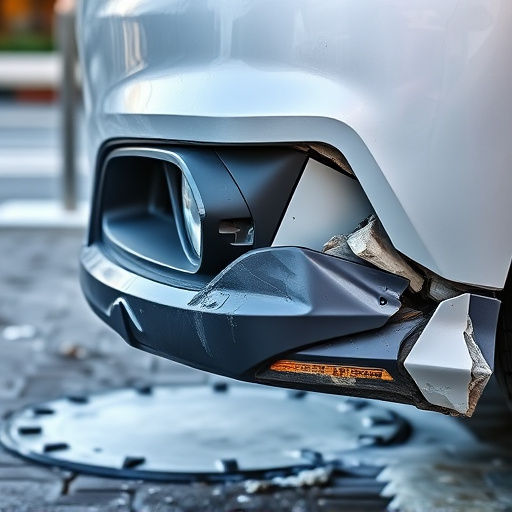
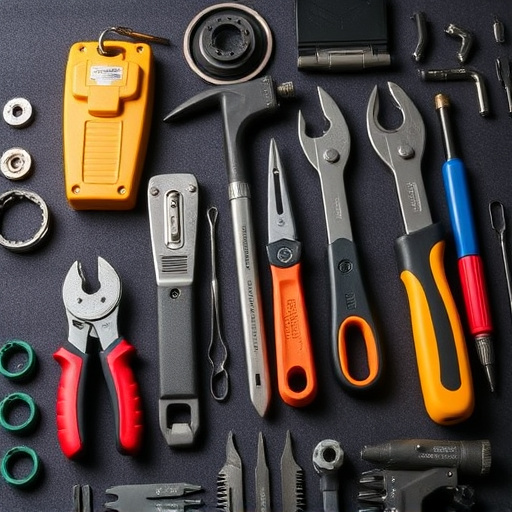
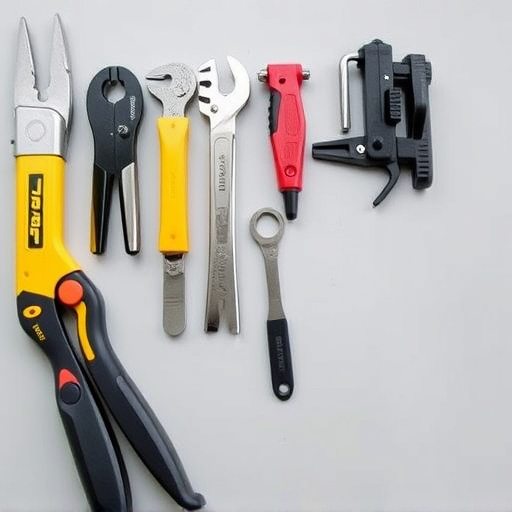
When you open your bumper repair kit, you’ll find three main components crucial for restoring your car’s front or rear protector after a minor bump or scratch. Understanding each element is key to an effective and successful repair. First, the filler is a compound designed to match your vehicle’s paint job, allowing you to fill in dents or dings and create a smooth surface. This is particularly useful for small damages that a collision repair center might consider cosmetic rather than structural.
Next, sandpaper plays a vital role in preparing the damaged area before applying the filler. Coarse-grit paper helps to roughen the surface, enabling better adhesion for the filler material. After smoothing the bumps, you’ll use finer-grit paper for a seamless finish. Lastly, paint is essential for matching the bumper’s original color and ensuring a durable, protective coat once the repair is complete. This step is crucial, as it not only restores the aesthetics but also prevents future damage by offering a shield against elements like rain and UV rays—something a car collision repair shop would emphasize during a full-scale fix.
Preparing and Sanding for a Smooth Finish
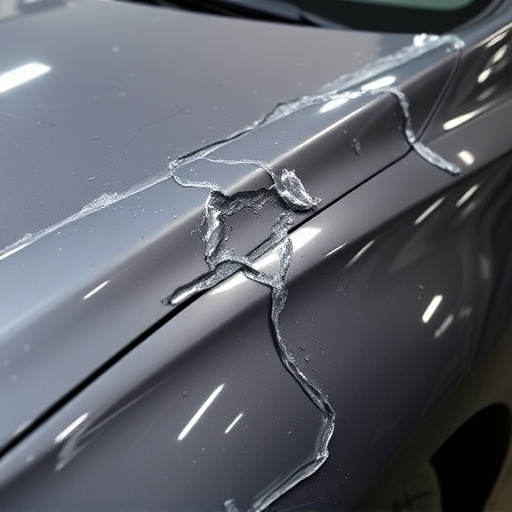
Before applying any filler or paint, ensuring your bumper is thoroughly prepared and sanded is paramount for achieving a smooth, professional finish. Start by cleaning the damaged area to remove any dirt, debris, or old rust with warm water and a mild detergent. Drying the surface completely afterwards is essential. Next, use the included sandpaper within your bumper repair kit to gently roughen the edges of the damaged zone. This process aids in better adhesion for both filler and paint, ensuring long-lasting results that mimic the original bumper’s texture. For optimal preparation, consider using a fine-grit sandpaper to avoid leaving visible scratch marks. This meticulous step is crucial in auto body repair, as it sets the stage for successful car collision repair and vehicle body repair.
Painting and Restoring Your Bumper Like New
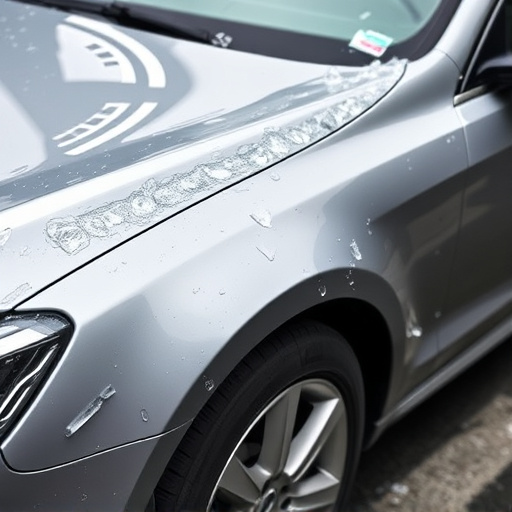
Painting and restoring your bumper to its former glory is an achievable task with the right tools—that’s where a bumper repair kit comes in handy. The process begins by using the included sandpaper to gently buff away any dents, scratches, or imperfections on the bumper surface. This step ensures a smooth base for the upcoming paint job, allowing you to achieve a professional-looking finish.
Once the bumper is prepped, apply the filler as per the kit’s instructions. Allow it to dry completely; this will fill in any minor cracks or damage. After the filler sets, sand gently to create a seamless transition between the repaired areas and the original bumper surface. Now, with the car body (or car bodywork) prepared, you’re ready to prime and paint using the kit’s paint to match your vehicle’s color. This meticulous process will have your bumper looking like new in no time, enhancing the overall aesthetic of your auto glass replacement or bumper repair efforts.
A bumper repair kit equips you with everything needed to restore your vehicle’s front or rear bumper to its original condition. By understanding the essentials, preparing the surface meticulously, and following painting instructions closely, you can achieve a smooth, durable finish that matches your car’s color perfectly. With the right tools from your bumper repair kit, you’ll be able to fix minor dents and scratches, enhancing your vehicle’s appearance and value.