

A bumper repair kit equips you to fix minor car dents and scratches yourself, saving costs. Prepare by cleaning, inspecting, sanding, and drying the damaged area for flawless results. Follow a video tutorial for meticulous application of compound, achieving paintless dent repair matching factory finishes.
Looking to fix that dented or damaged bumper? Our comprehensive guide is here to help. We provide step-by-step video tutorials for using a bumper repair kit, ensuring a seamless and effective DIY process. From understanding your kit’s components to final touches, we break down each crucial step. Discover the simplicity of repairing your bumper yourself with our easy-to-follow instructions, saving time and money in the process. Get ready to restore that like-new look with our bumper repair kit guide.
- Understanding Your Bumper Repair Kit
- Step-by-Step Preparation Process
- Application and Final Touches Guide
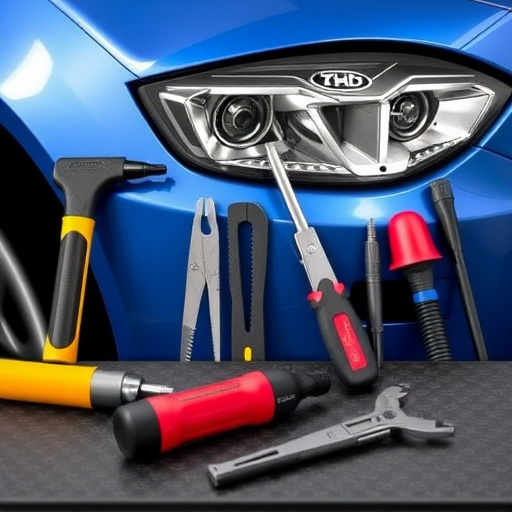
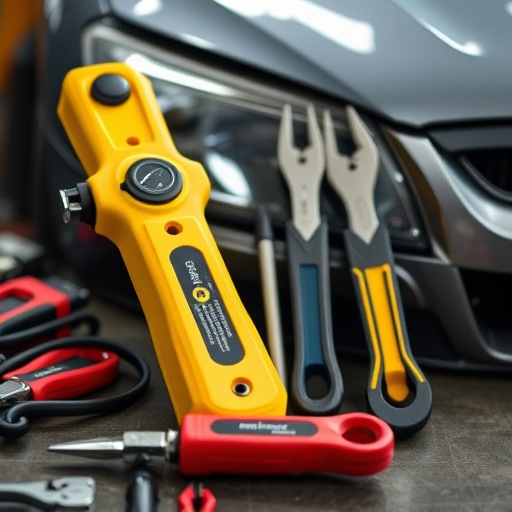
Understanding Your Bumper Repair Kit
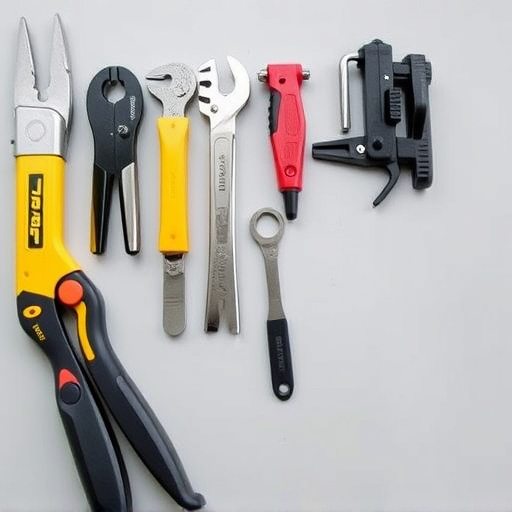
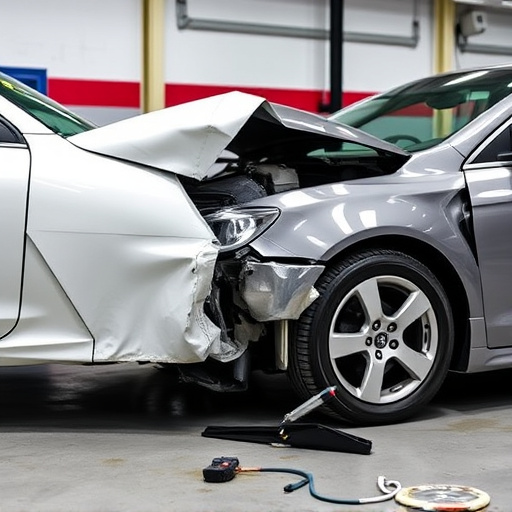
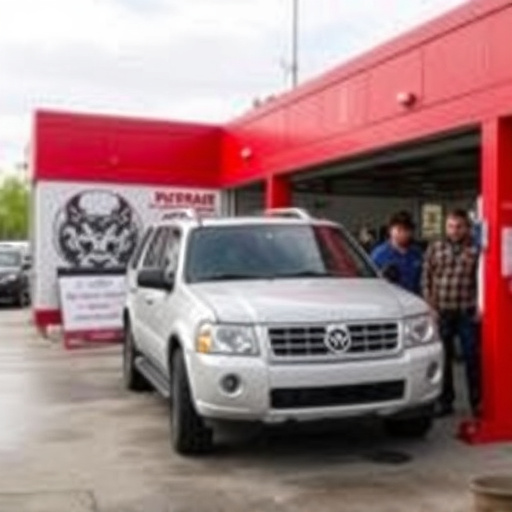
When you purchase a bumper repair kit, it’s essential to understand what’s included and how each component works. These kits are designed for DIY enthusiasts looking to fix minor dents and scratches on their vehicles themselves, potentially saving them a trip to an auto body shop or collision center. A typical bumper repair kit comes with all the necessary tools and materials for repairing car damage repair, such as filler, primer, paint, sandpaper, and applicators.
Understanding how these components interact is crucial for successful auto glass replacement. The process usually involves sanding down the damaged area to create a smooth surface, applying filler to even out any imperfections, priming the area to prepare it for painting, and finally, applying and drying the paint to match the vehicle’s original finish. With the right bumper repair kit and some patience, you can effectively restore your car’s exterior to its pre-damaged condition, avoiding costly visits to a professional collision center.
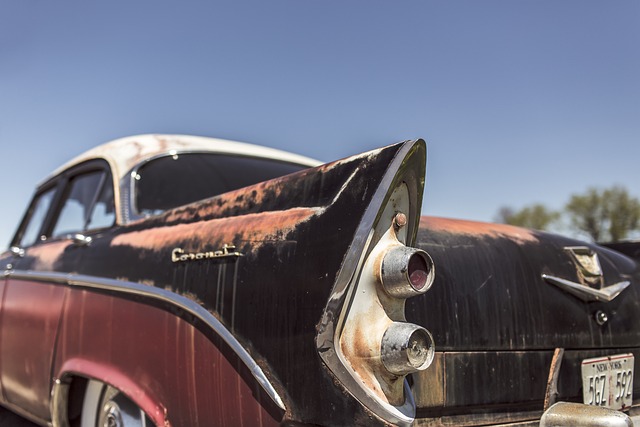
Step-by-Step Preparation Process
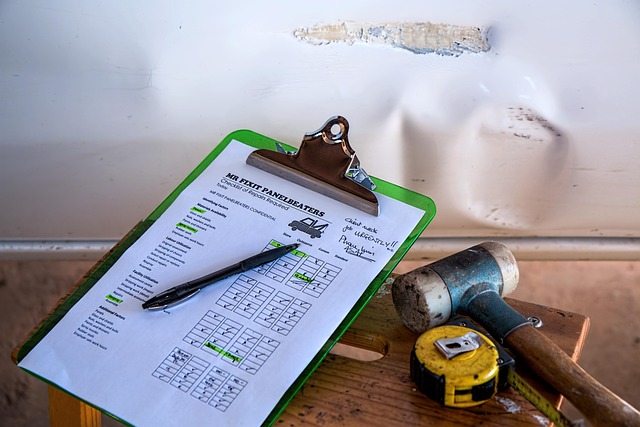
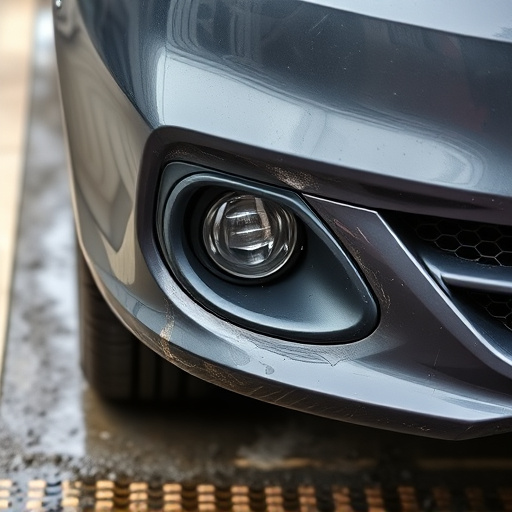
Before using a bumper repair kit, proper preparation is key to achieving a flawless result. The process begins with thoroughly cleaning and inspecting the damaged area. This involves removing any dirt, debris, or loose parts from the bumper. A simple wash with mild soap and water, followed by a thorough rinse, will ensure the surface is clean and ready for repair.
Once the bumper is clean, it’s crucial to dry it completely to avoid moisture interference during the repair process. This can be done using a soft cloth or a hairdryer on a low heat setting. After drying, carefully sand any rough edges or existing repairs to create a smooth surface. This step is essential for the adhesive to bond effectively with the bumper. Remember, proper preparation ensures that your bumper repair kit delivers professional-grade results, making it easier to restore your vehicle’s aesthetic appeal and safety features, including crucial components like auto glass repair if needed.
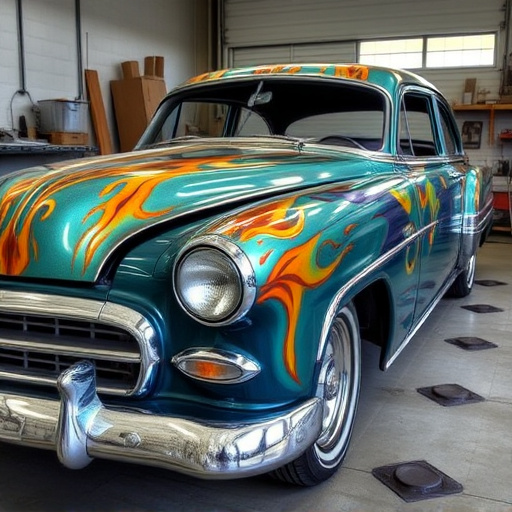
Application and Final Touches Guide
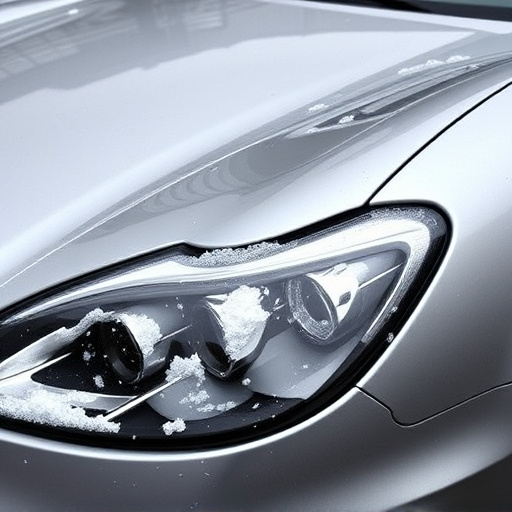
When using a bumper repair kit, the application and final touches guide is your crucial companion. This step-by-step video ensures that you achieve a professional-looking finish, enhancing your vehicle’s aesthetics post-repair. The process typically involves several precise applications of the repair compound, allowing it to bond seamlessly with your car’s existing paintwork.
As you follow the visual instructions, pay close attention to the final touches. This includes smoothing the surface, removing any excess material, and ensuring there are no visible imperfections or traces of the repair kit. Regularly check your progress under different lighting conditions to verify the repair’s quality—a paintless dent repair technique that rivals factory finishes can be accomplished with the right tools and meticulous care, leaving behind a flawless result at the end of the process, much to the delight of any auto collision center or tire services client.
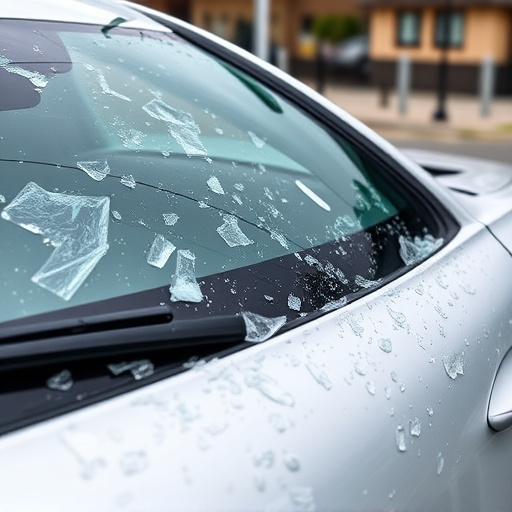
Looking to tackle your bumper repair yourself? With our comprehensive step-by-step video guides, you’ll have a cracked or damaged bumper looking like new in no time. Our detailed instructions for each stage, from preparation to final touches, ensure a professional result using your bumper repair kit. Access these videos now and restore your vehicle’s aesthetic with ease.