Bumper damage demands careful assessment and repair using comprehensive bumper repair kits suitable for both professionals and DIYers. These kits cater to various damage types, from minor scratches to significant breaks, on plastic or fiberglass bumpers. By offering a range of tools, adhesives, fillers, and finishing products, they enable efficient restoration while ensuring vehicle safety and aesthetic appeal. Using these kits is an affordable, time-saving alternative to professional auto body services, with DIY enthusiasts benefiting from accurate color matching and versatile, user-friendly repair processes.
Are you tired of dealing with unsightly bumper dents and scratches? A bumper repair kit is your solution for restoring your vehicle’s frontal protection. This comprehensive guide explores how to effectively fix plastic and fiberglass bumpers using a specialized kit. Learn about common bumper damage, the benefits of DIY repair, and a step-by-step process ensuring a seamless, durable fix. Discover why a bumper repair kit is an essential tool for maintaining your car’s aesthetics and value.
- Understanding Bumper Damage and Repair
- Features and Benefits of a Comprehensive Bumper Repair Kit
- Step-by-Step Guide to Using a Bumper Repair Kit on Plastic and Fiberglass Bumpers
Understanding Bumper Damage and Repair

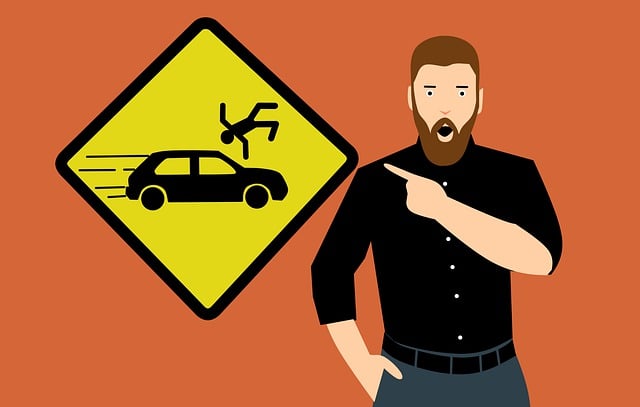
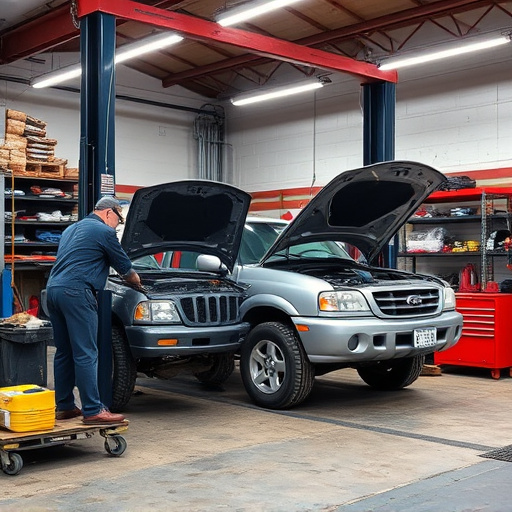
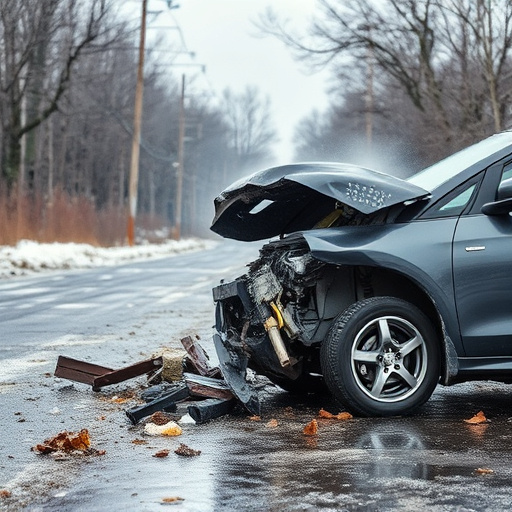
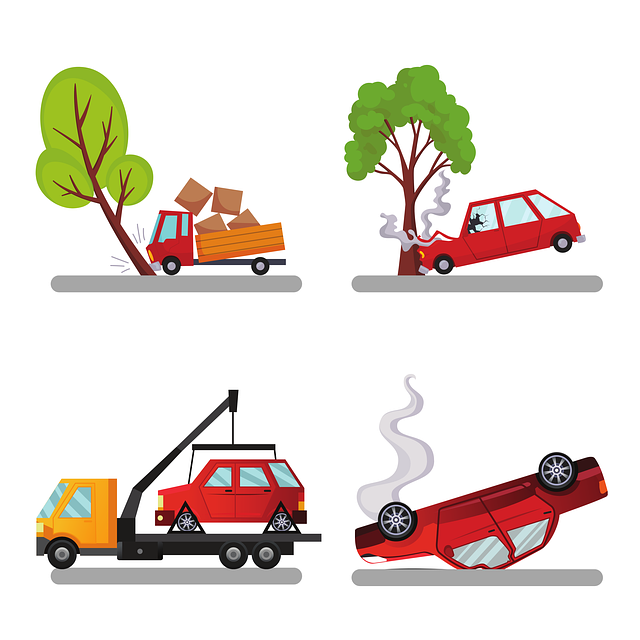
Bumper damage can range from minor scratches and dents to significant cracks and breaks, often occurring due to collisions or everyday driving incidents. Understanding the extent of the damage is crucial before attempting any repair. For plastic or fiberglass bumpers, a bumper repair kit becomes an essential tool for both auto body repair professionals and DIY enthusiasts.
These kits are designed to address various issues, from simple nicks and scratches that can be easily sanded and repainted, to more complex cracks and holes that may require specialized putties and fillers. The process involves preparing the damaged area, applying the appropriate filler or putty, letting it set, sanding for a smooth finish, and finally, painting to match the original bumper color. With the right bumper repair kit, auto body work can be efficiently and effectively restored, preserving the vehicle’s aesthetic appeal and safety features.
Features and Benefits of a Comprehensive Bumper Repair Kit

A comprehensive bumper repair kit is an essential toolset for anyone looking to restore their vehicle’s exterior, offering a wide range of features designed to make the repair process efficient and effective. These kits typically include various adhesives, fillers, and finishing products tailored for plastic and fiberglass bumpers, ensuring that both minor dents and significant damages can be repaired with ease. The ability to match the bumper’s original color accurately is a standout benefit, guaranteeing a seamless fit and finish once the repairs are complete.
By investing in a high-quality bumper repair kit, vehicle owners can save time and money compared to seeking professional car dent repair or vehicle repair services. DIY enthusiasts appreciate the independence and cost-effectiveness these kits provide, while those without repairing experience find them user-friendly, featuring step-by-step instructions that guide users through every stage of the car damage repair process. This versatility makes bumper repair kits a must-have for anyone aiming to keep their vehicle looking its best.
Step-by-Step Guide to Using a Bumper Repair Kit on Plastic and Fiberglass Bumpers

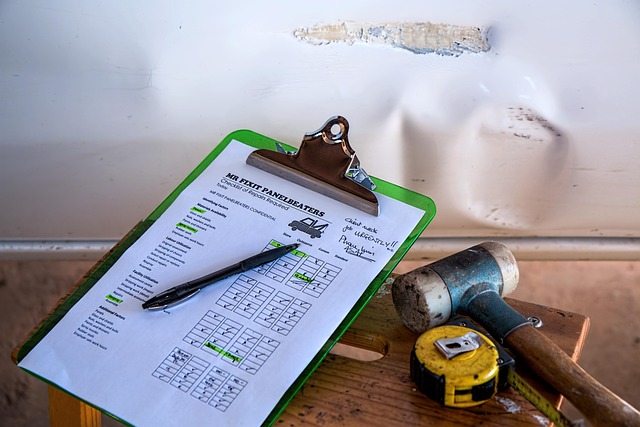
Using a bumper repair kit is an efficient way to fix minor damages on plastic or fiberglass bumpers, saving you time and money compared to visiting an auto body shop for car paint repair. Here’s a simple step-by-step guide:
1. Prepare the Area: Start by washing and drying your bumper thoroughly. Remove any debris or dirt using a soft cloth. Ensure the surface is dry to avoid water spots that could interfere with the bonding process.
2. Inspect and Match the Kit: Carefully examine the damaged area and compare it with the kit’s parts. Choose the most suitable color match from the car paint repair options available in the bumper repair kit. Some kits include a primer, so ensure you apply this first for optimal adhesion.
3. Apply the Repair Compound: Using the tools provided or a small spatula, carefully apply the compound to fill in cracks, chips, or dents. Work it into the damaged area until it’s smooth and level with the rest of the bumper. Allow it to dry according to the kit’s instructions.
4. Sand and Prime (if needed): Once dry, gently sand the repaired area using a fine-grit sandpaper included in the kit. This smoothes out any imperfections and ensures better adhesion for the final step. If your kit includes a primer, apply it evenly over the repaired surface.
5. Paint and Cure: Finally, use the bumper repair kit’s paint to match the existing color of your bumper. Apply several thin coats, allowing each coat to dry before adding the next. After the last coat is dry, let it cure completely according to the manufacturer’s guidelines.
A damaged bumper doesn’t have to mean costly body shop repairs. With a comprehensive bumper repair kit, you can easily fix minor dings, cracks, and scratches on both plastic and fiberglass bumpers, restoring your vehicle’s appearance at a fraction of the cost. By following our simple step-by-step guide, you’ll be able to tackle these repairs yourself, saving time and money while ensuring a professional-looking finish. Invest in a bumper repair kit today and take control of maintaining your car’s curb appeal.