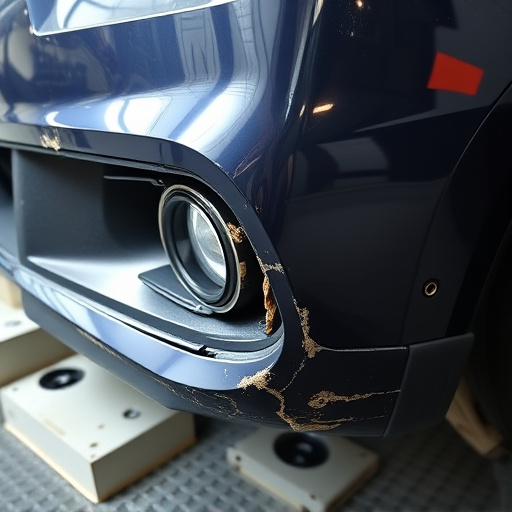

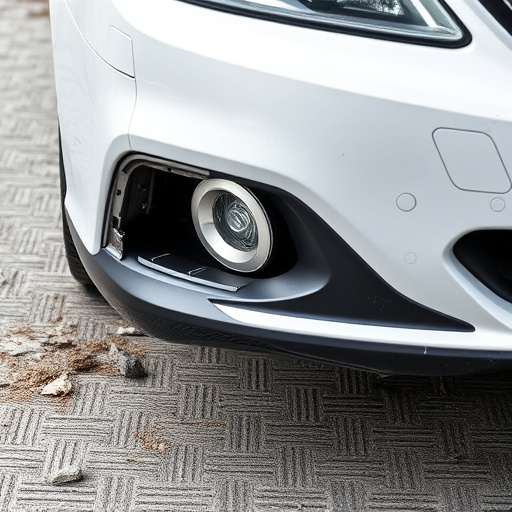
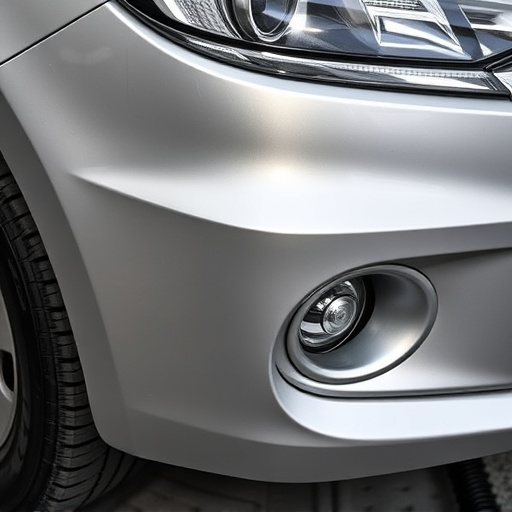
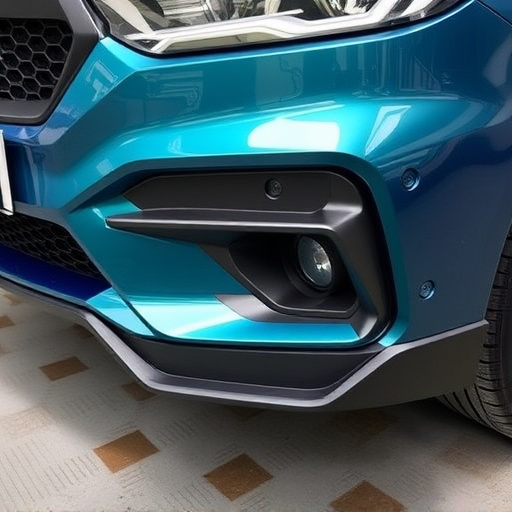
Sanding is a crucial pre-step for using a bumper repair kit, preparing the surface and ensuring a strong bond between the adhesive and car bumper. With the right sandpaper and techniques, achieve professional results matching the vehicle's original finish. This meticulous preparation, including cleaning and slightly roughening the area, is key to long-lasting, high-quality bumper repairs with minimal indentations or particle residue.
Sanding is a crucial step in the successful use of a bumper repair kit. Skipping this essential process can lead to poor adhesions and unsightly finishes. This article guides you through the importance of proper sanding, providing insights into why it’s vital for your bumper repair kit‘s effectiveness. From selecting the right tools to mastering effective techniques, learn how to achieve smooth, professional results.
- Understanding the Importance of Sanding Before Repair
- The Right Tools and Techniques for Effective Sanding
- Achieving Smooth Finishes: Tips for Bumper Repair Success
Understanding the Importance of Sanding Before Repair

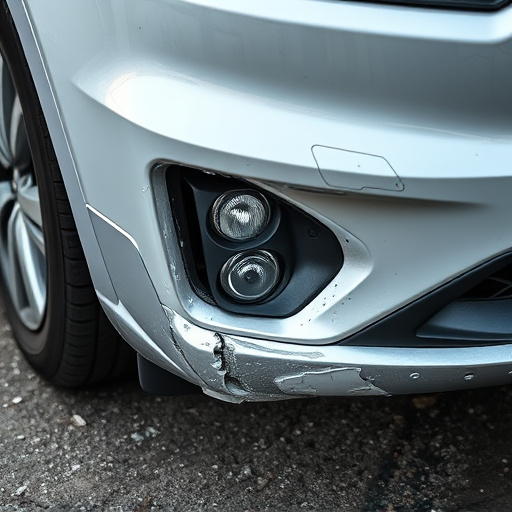
Sanding is a fundamental step that often gets overlooked when using a bumper repair kit. However, understanding its significance is key to achieving effective and long-lasting repairs. Before applying any repair solution or kit, preparing the surface by sanding ensures a smooth base for the new material. This process removes any debris, dirt, or existing coatings, allowing the repair kit’s adhesive to bond securely with the car’s bumper.
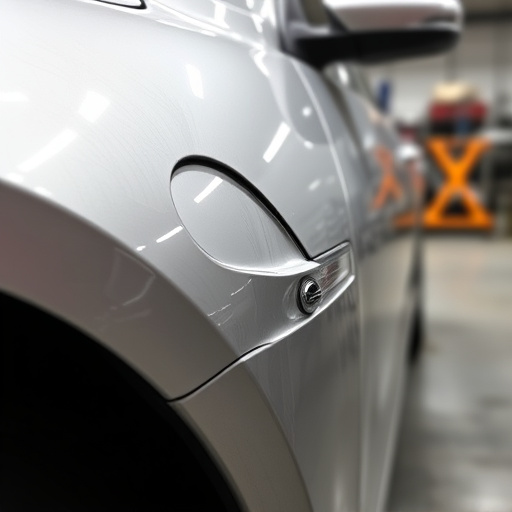
In the realm of auto body repair, especially when utilizing body shop services or collision repair services, proper sanding techniques can make all the difference in the final outcome. It enables the successful integration of new parts and ensures the repaired area matches the vehicle’s original finish, both in terms of texture and appearance. Therefore, taking the time to master this skill is essential for professional-grade bumper repairs using a bumper repair kit.
The Right Tools and Techniques for Effective Sanding
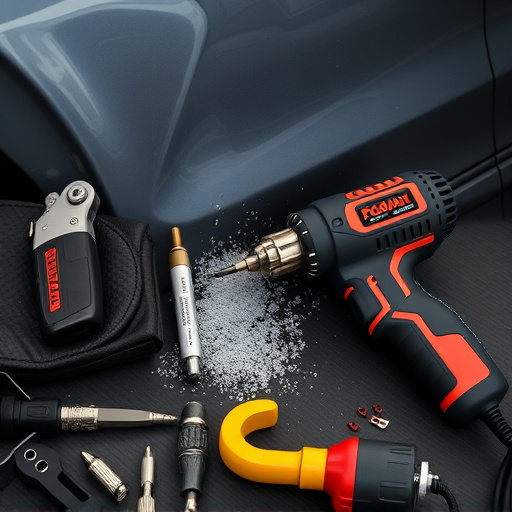
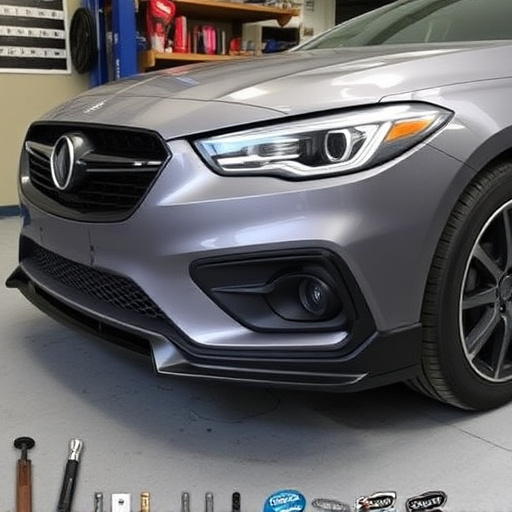
When it comes to using a bumper repair kit, proper sanding techniques are essential for achieving flawless results. The key is to have the right tools and know how to utilize them effectively. Start by selecting a fine-grit sandpaper suitable for your kit’s instructions. Typically, higher grit numbers indicate smoother finishes, so choose accordingly based on your desired outcome. A handheld sander or a block of sandpaper can be used, depending on the kit’s design and your personal preference.
For efficient sanding, maintain a steady pressure while moving the tool in smooth, circular motions. Ensure you cover all areas evenly to avoid uneven surfaces. Remember, the goal is to remove damaged or old paint without causing unnecessary harm to the surrounding bumper material. After sanding, wipe down the surface with a clean cloth to eliminate any dust particles, preparing it for the subsequent steps in your bumper repair kit’s instructions, such as priming and painting, ensuring long-lasting auto repair services and a seamless finish akin to those provided by top-tier auto repair shops, including auto glass repair when necessary.
Achieving Smooth Finishes: Tips for Bumper Repair Success
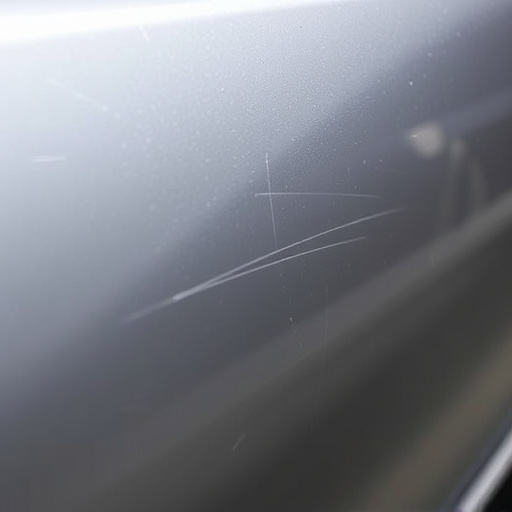
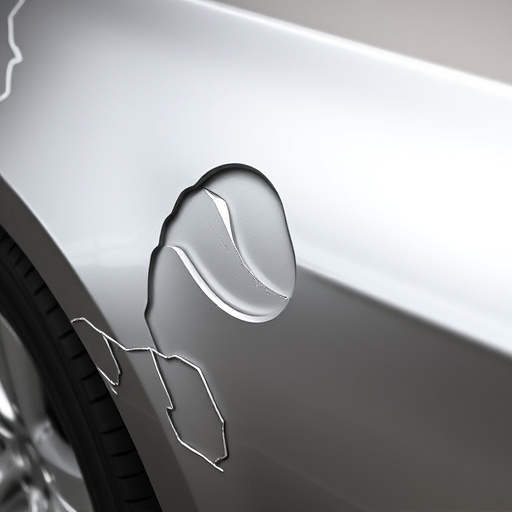
Achieving a smooth finish is paramount when using a bumper repair kit. Before applying any repairs, ensure your vehicle’s surface is clean and free from dirt or debris. This initial preparation significantly impacts the final result. Start by sanding the damaged area gently to create a slightly rough texture—this aids in bonding with the repair compound. Use fine-grit sandpaper for precise control, allowing you to match the surrounding panel’s contours accurately.
For optimal results, maintain a consistent and even pressure while sanding. This approach minimizes indentations or uneven surfaces that could compromise the overall aesthetics of your vehicle’s bodywork. After sanding, thoroughly wipe down the area with a damp cloth to remove any loose particles, ensuring the surface is ready for application. Remember, meticulousness during this stage directly contributes to the quality of your bumper repair, enhancing its longevity and visual appeal—key aspects in maintaining proper auto maintenance.
Sanding is an often-overlooked but crucial step in successful bumper repair using a bumper repair kit. By preparing the surface properly, you ensure that your repairs are not only durable but also provide a smooth, professional finish. Whether you’re a seasoned mechanic or a DIY enthusiast, mastering the art of sanding will significantly enhance the outcome of your bumper repair kit application, making it an indispensable skill in your automotive care toolkit.